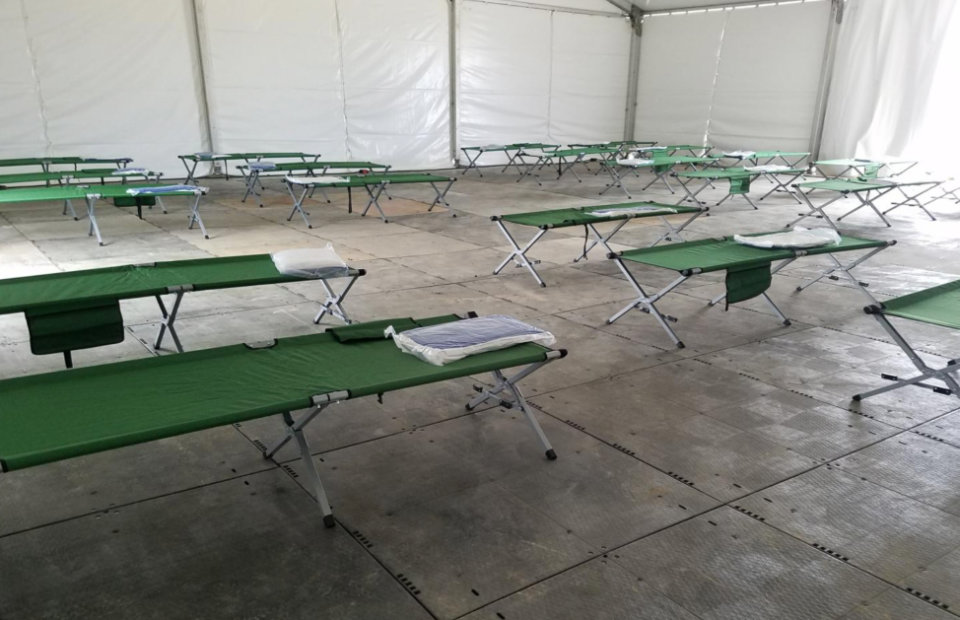
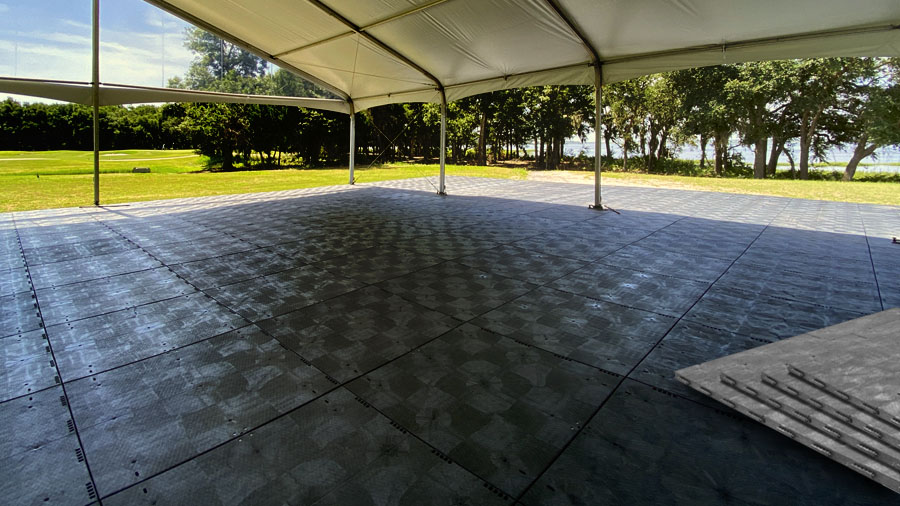
Dura-Trac™ is a revolutionary HDPE modular flooring system designed specifically for rapid deployment in stadiums, tents, temporary warehouses, special events, and other venues. It is also offered with a welded plastic backed panel, for heavier vehicle traffic
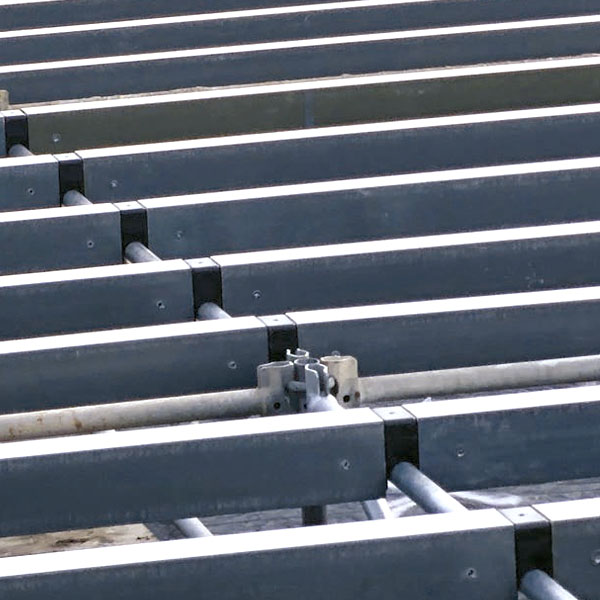
Dura-Trac™ patented slide & lock flooring system is self-aligning and allows for adjacent panels to fit together seamlessly. There are no hinges to break or loose pieces to be inserted, just slide and lock and you’re done. For additional strength, panels may be locked together with Dura-Trac™ proprietary cam locks.
Each Dura-Trac™ panel is 4ft x 4ft x 2 3/4″ thick making it one of the most robust modular event flooring systems on the market. Utilize our 2ft x 4ft panels to brick-lay your floor for a stronger design and to accommodate a wider range of tent and event footprints. Rapidly install Dura-Trac™ using our accessory tool kit, including our custom 3ft T-Bar and Drag Hook to make installation efficient and fast.
Combine Dura-Trac™ SE with our SB version, which features a fully welded back panel designed to protect your event space from heavy weight loads and to transition efficiently from light application needs to areas requiring extra protection from heavy equipment and vehicle traffic.
Dura-Trac™ installs quickly and easily over virtually any sub-surface. Whether your installation site is flat or uneven, Dura-Trac™ creates a safe, professional system for a successful event. As a result, installation of Dura-Trac™ is up to 4x faster than plywood with no stringers required.
Go Green!! Dura-Trac™ temporary flooring is an environmentally constructed plastic panel made from 50% recycled material! Plus, it is 100% recyclable.
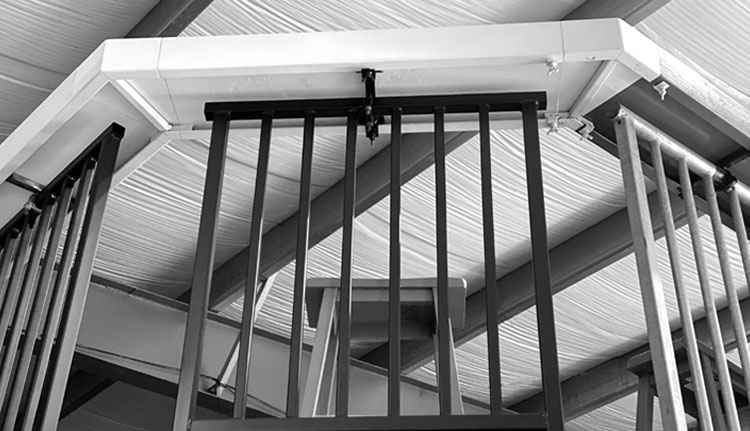
Speed of installation, smooth transitions from truss to truss and interlocking beam to truss technology make the RASI Connector™
the optimal transition piece for this system. That’s right! No more staggering wood beams to accommodate plywood joints. However, some projects call for versatility and the Atlys BEAMM™ can be used with or without the connector.
Setting up the Drink Rail is a breeze. Simply bolt it directly onto the flooring for a secure installation. Whether you prefer a straight-line arrangement or an angled configuration, this versatile feature accommodates both choices effortlessly. Begin by choosing your desired layout. Next, position the Drink Rail at the selected angle or in a straight line, aligning it with precision. Utilize appropriate tools to securely fasten the rail to the floor, ensuring stability. Its user-friendly design guarantees a hassle-free setup process. Whether you’re aiming for a streamlined appearance or a more dynamic arrangement, the Drink Rail offers seamless adaptability. Enhance your space with a functional and stylish addition. These instructions guarantee successful installation, giving you a sturdy and versatile Drink Rail setup tailored to your preferred layout—straight or angled.
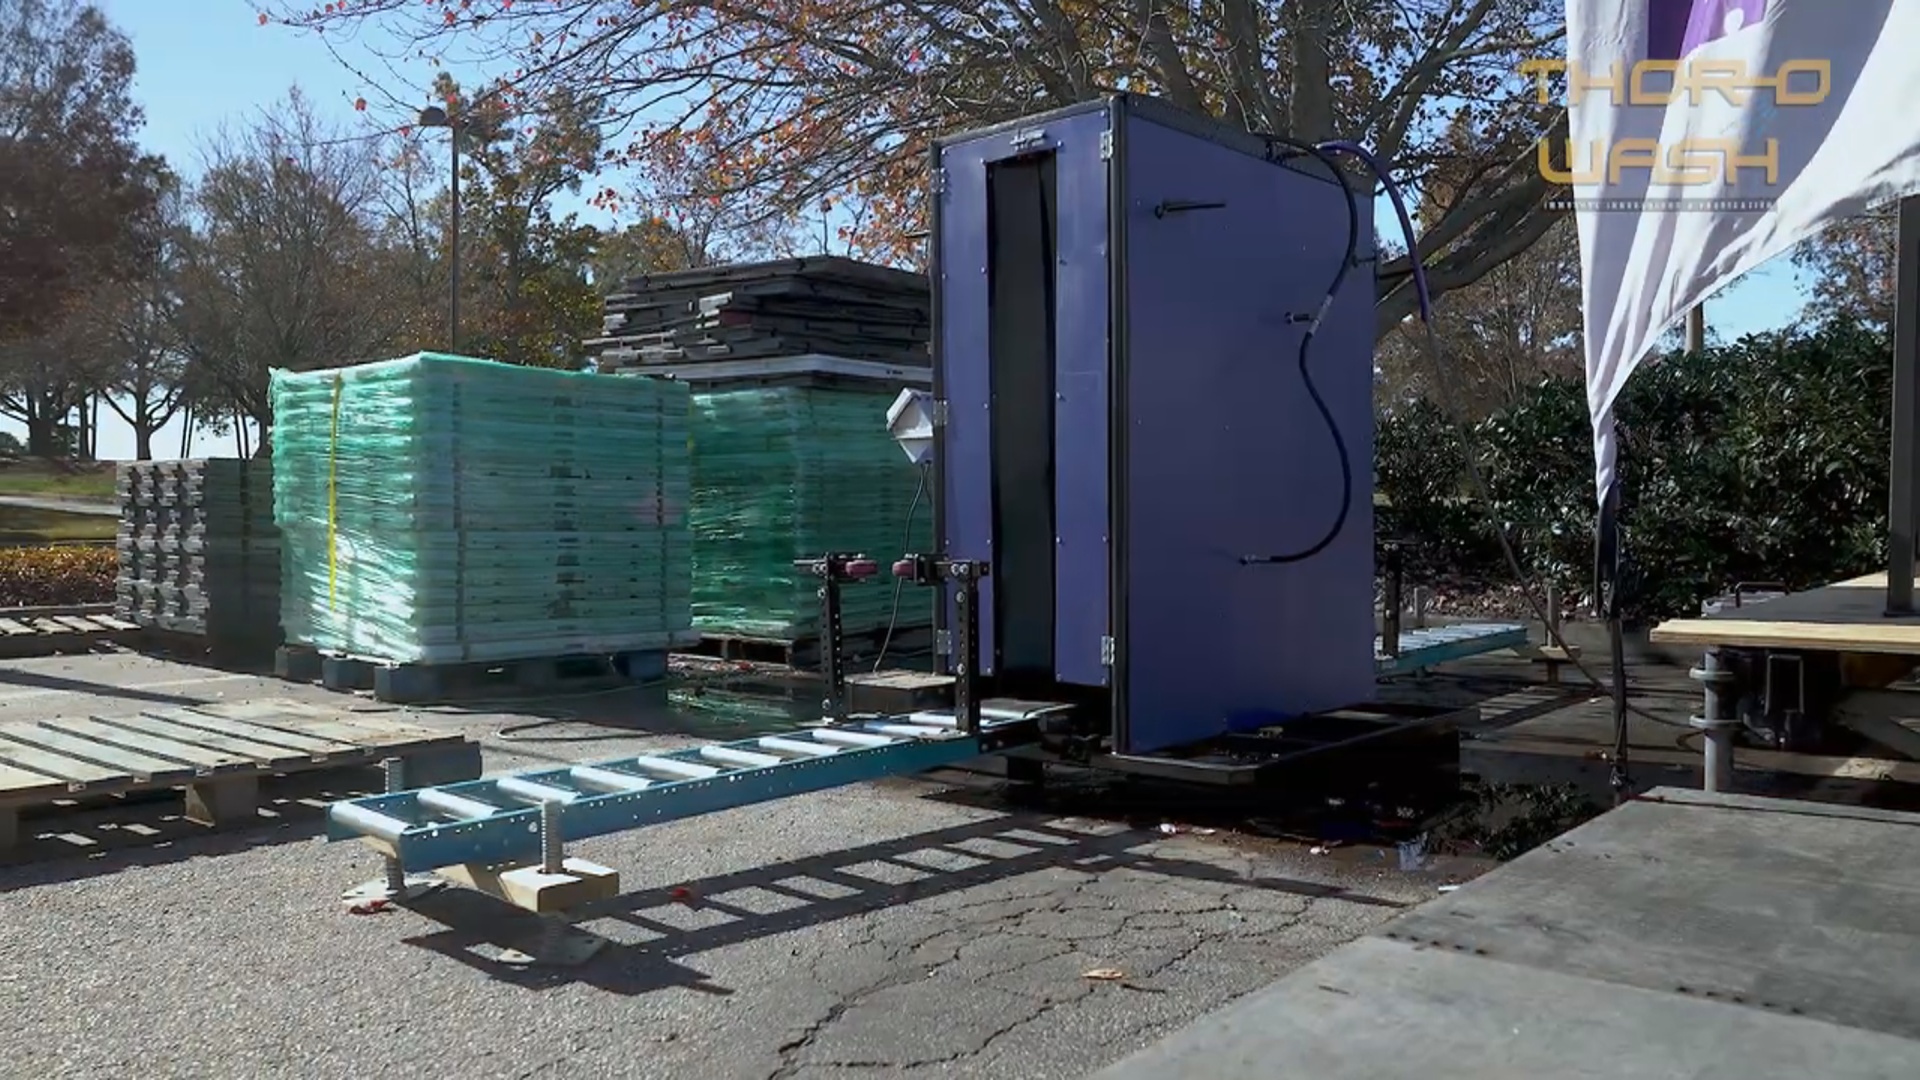
Step 1: Component Placement
Position the power unit amidst the IBC totes, ensuring the ball valves face it. Place the washing unit between rollers with brackets toward it.
Step 2: Water Connection
For proper water supply, use buffer tanks (IBC totes). Attach 1’’ black feed hoses with quick-connect cam locks to IBC tote valves. Connect ½’’ hose to recycle water into the tote. Open ball valves to allow water in pumps. Never start pumps without water.
Step 3: Washer Unit Connection
Attach pressure lines’ male ends to female pressure washer connection fittings on the washer unit’s ball valves. Secure rollers with supplied 3/8 bolts and nuts. Connect 110v power to the conveyor motor, ensuring a protective cover is used.
Step 4: Dry Run
Start the conveyor and insert the material. Adjust the washer’s side handles for material thickness, keeping them balanced. Tighten rollers against the material, then back off slightly. Run a few panels without pumps for smoothness.
Step 5: Pump Start and Operation
Ensure the washer unit’s ball valves are on. Start pumps with water supply. Start engines following the sequence: pull the choke, turn the key, wait for startup, push the choke, and warm up. Adjust throttles to peak RPMs. Flip variable speed controller’s switch to run material through the washer.
By following these comprehensive instructions, you’ll effortlessly set up and operate your washing system, achieving efficient and reliable results. You can always reach out to us if assistance is needed.
Dura-Trac™ is a company of the future with revolutionary products designed specifically for the special event industry by special event flooring experts.
© 2023 Dura-Trac™. All Rights Reserved.